
TL;DR
A functional 3D print is an end-use part you rely on — it has to hold load, fit, flex, or survive use, not just look good. Three decisions separate functional prints from decorative ones: material (PLA+/PETG rigid, TPU flexible, Nylon/PA-CF tough), internal structure (wall count and infill sized to the load), and print orientation (so layer lines aren't the failure plane).
The best functional prints solve a problem you have repeatedly — cable management, tool holders, replacement knobs and brackets, jigs and fixtures, organizer bins. But the most underrated functional print is a custom TPU insole: worn every day, fitted to your body, and custom-made without a clinic-and-lab order. The blocker has always been design (CAD or scanning). Ergono3D removes it — a guided survey produces a print-ready TPU STL, no CAD. It is a design tool, not medical treatment; see a clinician for a diagnosed condition.
Key takeaways
- Functional ≠ decorative. A functional print is a working part — it earns its place by doing a job, not by looking nice.
- Material first. PLA+/PETG for rigid everyday parts, TPU for anything flexible or load-cushioning, Nylon/PA-CF for tough and heat-exposed parts.
- Structure is strength. 3–4 perimeters carry most of the load; 20–50% infill for load-bearing parts; layer adhesion is the weakest axis, so orient accordingly.
- Tolerances matter for parts that fit. Plan 0.2–0.4 mm clearance for sliding/press fits and test on a small print before committing.
- The standout is a custom insole. Daily wear, body-fitted, real TPU cushioning, custom without a clinic-and-lab order — and Ergono3D removes the CAD blocker.
- Design tool, not treatment. Ergono3D generates the STL from a guided survey; get a professional assessment first if you have a confirmed medical diagnosis.
Most printers spend their first month making decorative prints — Benchies, dragons, articulated toys, vases. Fun, and a genuinely good way to learn the machine. But the reason a 3D printer pays for itself is the second category: functional prints. These are end-use parts you actually rely on — the bracket holding up a shelf, the knob you replaced on a dead appliance, the jig that makes a woodworking cut repeatable, the insole in the shoe you wear every day. When people search useful things to 3D print, this is what they're after: not another model, but a part that does a job.
This is a maker's guide, written by makers. We'll be specific about what actually makes a print functional, give real material and slicer ranges instead of hand-waving, run through a curated list of the best functional 3D prints, and then make the case for the single most useful functional part most people never print.
Functional vs decorative: why it changes everything.
A decorative print only has to survive being looked at. A functional print has to survive being used — that one difference rewrites every setting that matters.
On a decorative print you can chase surface finish and ignore strength entirely. Print it in whatever PLA color you like, drop the infill to 10%, orient it for the prettiest face, and it'll be fine on a shelf forever. None of those choices have consequences, because the part never carries a load or has to fit anything.
A functional print flips that. The bracket has to hold weight without the layers peeling apart. The enclosure has to snap onto a board within a fraction of a millimetre. The TPU bumper has to compress and rebound thousands of times. Suddenly material, wall count, infill, orientation, and tolerance stop being cosmetic and start being structural. That's the whole game with 3D printed functional parts: design for how the part is loaded and how it fails, not for how it looks coming off the bed.
What makes a print functional — the technical essentials.
Five decisions turn a model into a working part: material, walls and infill, layer adhesion and orientation, tolerances, and when to go flexible instead of rigid. Get these right and most functional prints just work.
Material: match it to how the part fails
Material choice is the first and biggest lever for any end-use part. The honest rule of thumb:
- PLA+ / PETG — rigid everyday parts. PLA+ (toughened PLA) is stiff, dimensionally accurate, and easy to print, which makes it fine for low-stress indoor parts. PETG is the better default for functional prints that see moisture, mild heat, or impact — it's tougher and more temperature-tolerant than PLA, with only a small jump in difficulty. For most household brackets, holders, and organizers, PETG is the safe pick.
- TPU — anything flexible or load-cushioning. When the part needs to bend, grip, seal, or absorb impact — gaskets, bumpers, phone grips, watch bands, insoles — you want a flexible filament. TPU prints in common durometers from soft 85A to firmer 95A, and it's the only sensible choice when compliance is the point.
- Nylon / PA-CF — tough, heat-resistant, high-fatigue. For gears, living hinges that cycle hard, functional hooks under real load, and parts near heat, Nylon (PA) and carbon-fiber-filled nylon (PA-CF) win on strength, fatigue life, and heat resistance. They're more demanding to print (drying is mandatory, higher temps, often an enclosure) but nothing else matches them for genuinely abused parts.
Walls and infill: where strength actually comes from
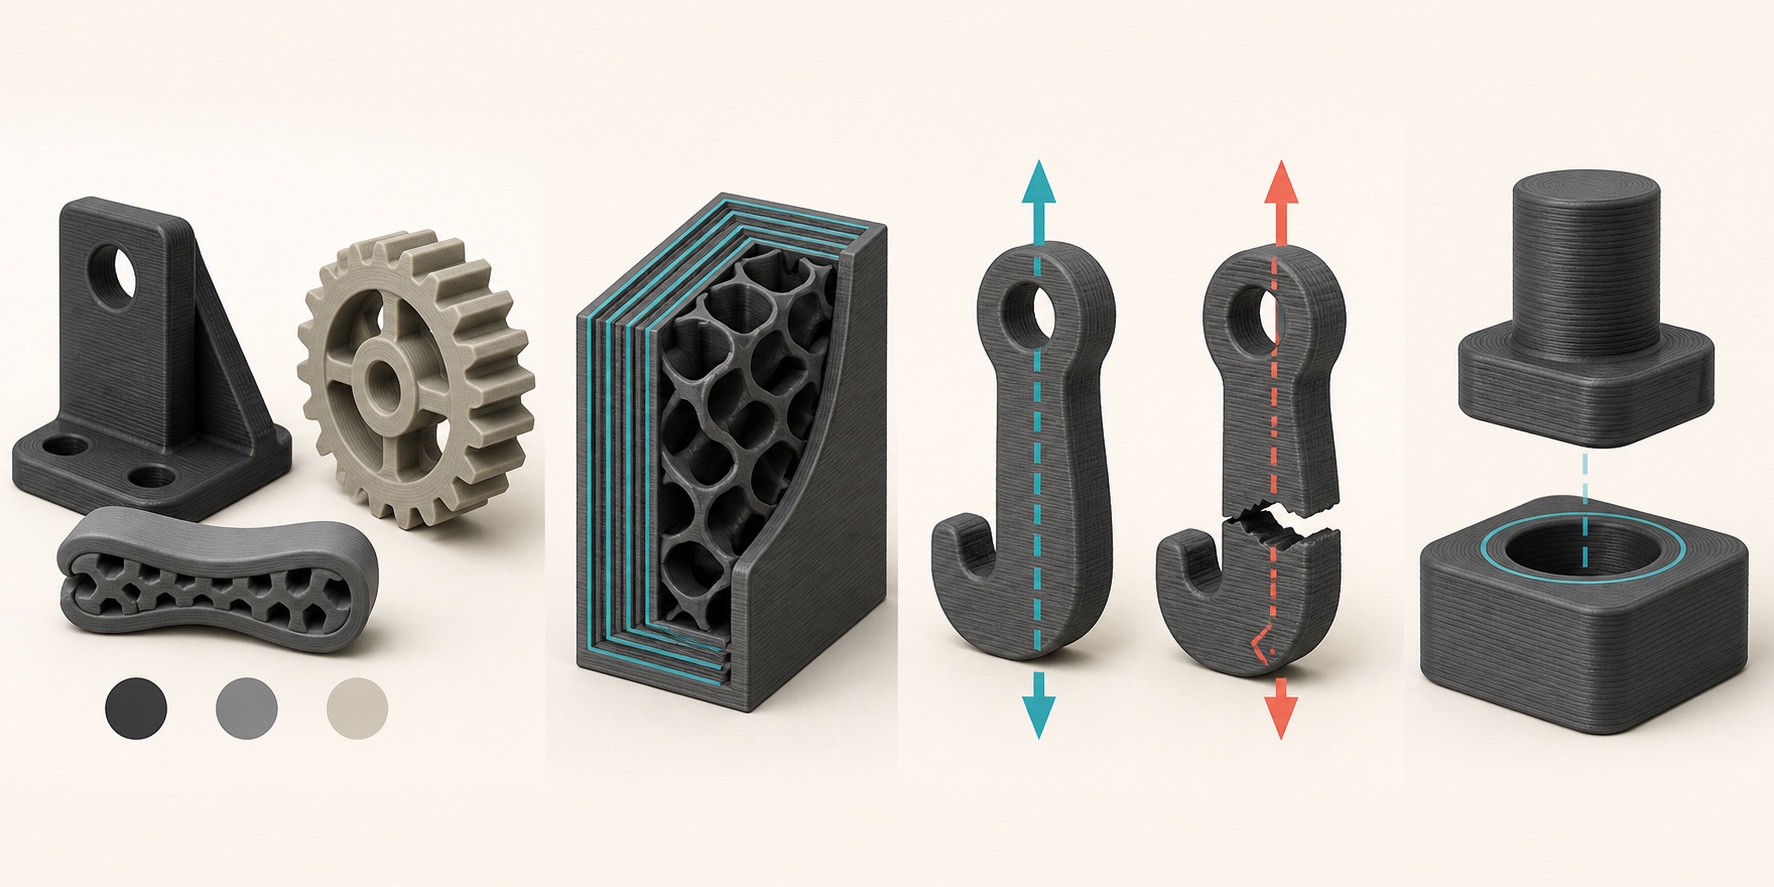
Most makers over-rely on infill. For load-bearing parts the perimeters (walls) do most of the structural work. A good baseline for functional prints is 3–4 perimeters — that shell is what resists bending and pull-apart far more than the lattice inside it. Then size infill to the load: 15–20% for light-duty parts, 30–50% for parts under real mechanical stress, and gyroid or cubic patterns (which are isotropic — similar strength in every direction) for anything that takes load from multiple angles. Solid (100%) infill is rarely worth the print time; adding a wall is usually a better strength-per-gram trade.
Layer adhesion and orientation: don't print along the failure plane
This is the single most common reason functional prints break. On an FDM print the bond between layers (the Z axis) is weaker than the material within a layer — typically the weakest direction in the part. So the rule is: orient the part so the load runs along the layers, not across them. A printed hook loaded vertically will snap cleanly along a layer line if it's printed flat; stand it up (or print it on its side) so the pulling force runs through continuous extrusion lines instead of trying to peel layers apart. When you can't orient ideally, compensate by raising perimeters, printing a touch hotter for better layer fusion, and easing back the cooling fan on the stressed region.
Tolerances and clearances: for parts that have to fit
Functional parts that mate with something else — lids, press-fits, sliding rails, snap clips — live and die on clearance. FDM isn't perfectly dimensionally accurate, so design in a gap rather than hoping. As practical starting points: about 0.2 mm clearance for a snug sliding fit, 0.1 mm or less for a press fit, and up to 0.4 mm for loose, easy-assembly fits. Every printer and material pairing is slightly different, so print a small tolerance test before committing to a big multi-part print.
When flexible (TPU) beats rigid
Reach for TPU whenever the part's job is to deform — to cushion, grip, seal, or spring back. A rigid bumper isn't a bumper; a hard gasket doesn't seal; and a hard-shell insole doesn't cushion a footstrike. The durometer is your tuning dial: softer TPU (around 85A) for maximum cushioning and grip, firmer TPU (around 95A) when you need the part to hold its shape under load. That hardness-vs-support trade-off is exactly the one that makes TPU the right material for the standout functional print below.
Material cheat sheet for end-use parts.
A fast reference for picking material and settings by what the functional part has to do. Treat the ranges as starting points and tune to your printer.
| If the part is… | Material | Walls · infill | Why |
|---|---|---|---|
| Rigid, indoor, low-stress | PLA+ | 3 walls · 15–20% | Stiff, accurate, easy; fine where heat and impact are low |
| Rigid, daily-use, moisture / mild heat / impact | PETG | 3–4 walls · 20–40% | Tougher and more heat-tolerant than PLA; the everyday default |
| Flexible — cushion, grip, seal, spring | TPU (85A–95A) | 2–3 walls · 10–20% gyroid | Only sensible choice when compliance is the function |
| Tough, heat-exposed, high-fatigue | Nylon / PA-CF | 4 walls · 30–50% | Best strength, fatigue life, and heat resistance for abused parts |
| Must fit / mate with something | Any (test first) | — | Design 0.1–0.4 mm clearance; print a tolerance test before committing |
The best functional 3D prints worth making.
A curated list of genuinely useful things to 3D print — each one solves a problem you actually have. No filler, no novelty keychains.
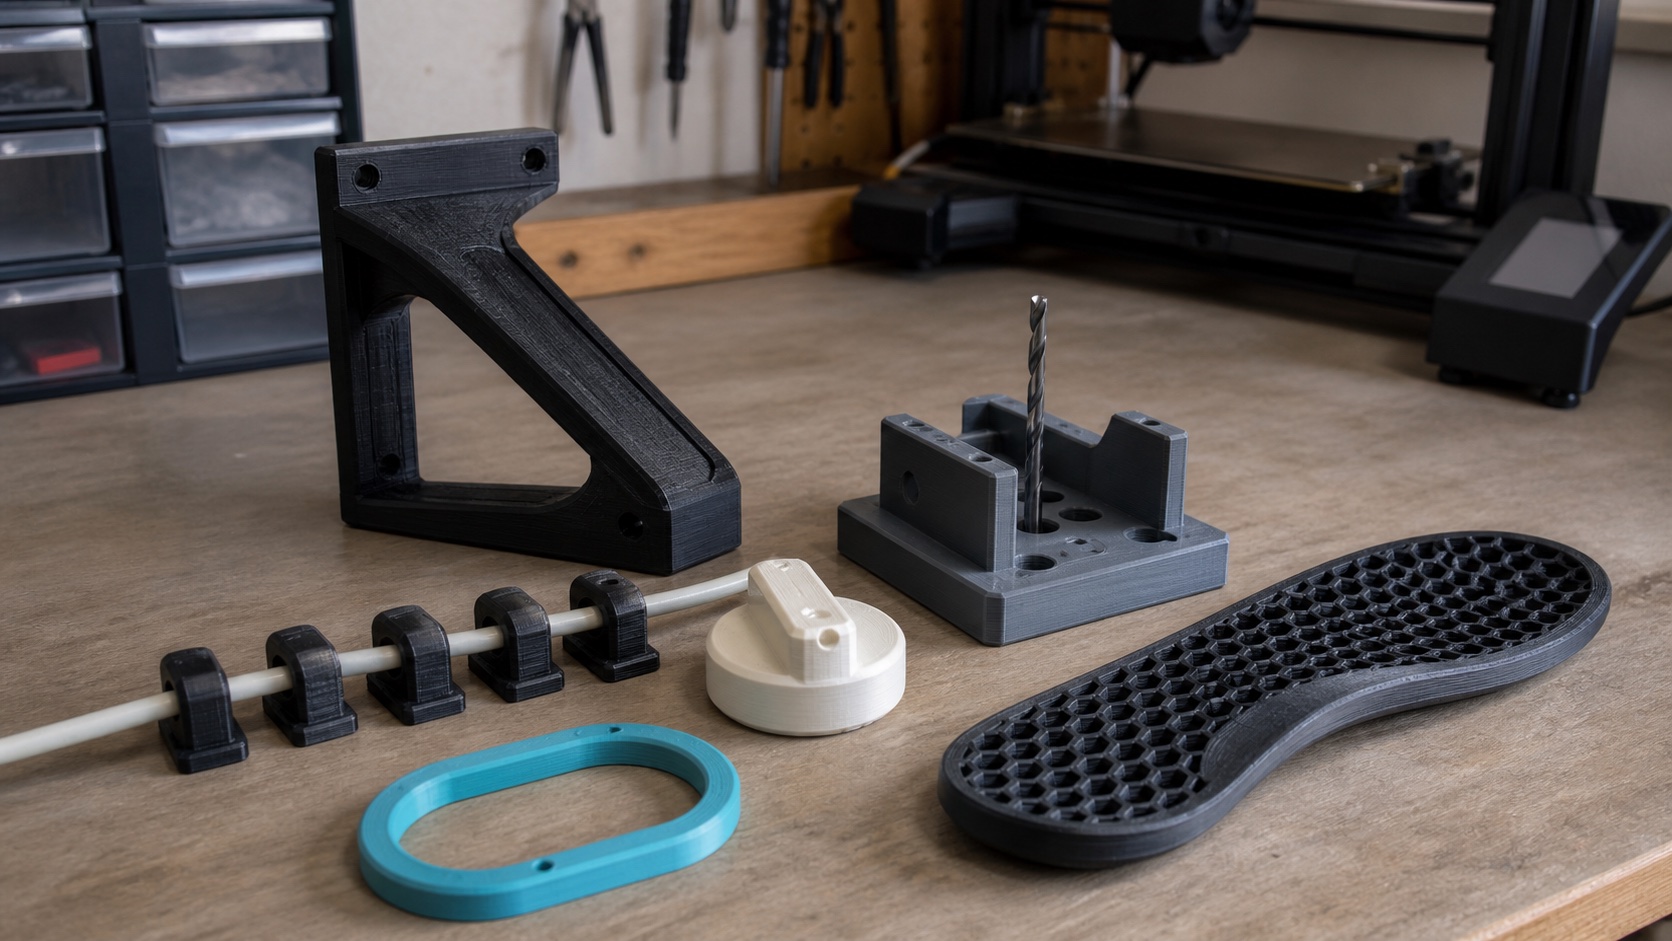
- Cable clips and cable management. Under-desk clips, monitor-arm cable runs, charger holders, and routed channels. Cheap, fast, and you'll print a dozen once you start. PETG or PLA+ is plenty.
- Tool and bit holders. Drill-bit organizers, screwdriver racks, Allen-key holders, wall-mounted tool boards sized to your exact tools. This is where a printer quietly transforms a workshop.
- Replacement knobs, brackets, and feet. The single best ROI in 3D printing: reviving something you'd otherwise toss because one cheap part broke. A snapped oven knob, a missing furniture foot, a cracked bracket — model it, print it in PETG, done.
- Jigs and fixtures. Drilling guides, sanding jigs, soldering holders, alignment fixtures. These make repetitive work accurate and repeatable, and they're the prints that feel most like having a small factory.
- Door and cabinet hardware. Door stops, drawer pulls, cabinet catches, shims, and bumpers. Mundane, but exactly the kind of part that's annoying to source and trivial to print.
- Organizer bins and inserts. Drawer dividers, desk trays, kitchen and parts organizers cut to your actual drawer dimensions instead of whatever the store sells.
- Flexible TPU parts. Gaskets, bumpers, grips, watch bands, and protective sleeves — the everyday flexible parts that no rigid print can replace.
- Wall hooks and hangers. Coat hooks, headphone hangers and broom or tool clips, screwed or adhesive-mounted where you need them. PETG copes with a hanging load better than PLA.
- Phone, tablet and laptop stands. Sized to your device and viewing angle, with a cable pass-through. PLA+ or PETG.
- Printer upgrades. Spool holders, filament guides, tool trays and enclosure parts — the printer improving itself. PETG for anything near the heated bed.
- Everyday repair parts. Battery covers, bag clips, and broken clips or latches reproduced from caliper measurements. Match the material to how the original failed.
- A custom TPU insole. The functional print most makers skip — see the next section.
Every one of these is a legitimately good reason to own a printer. But notice what they have in common: they're parts you use occasionally, in your home or shop. The next one is different — it's a functional print you'd use every single day, fitted to your own body.
The best functional print you're not making: a custom insole.
Worn every day, fitted to your body, made of TPU for real cushioning, and custom-made without a clinic-and-lab order. On nearly every axis that defines a great functional print, a custom insole wins — and the only reason most makers skip it is the design step.
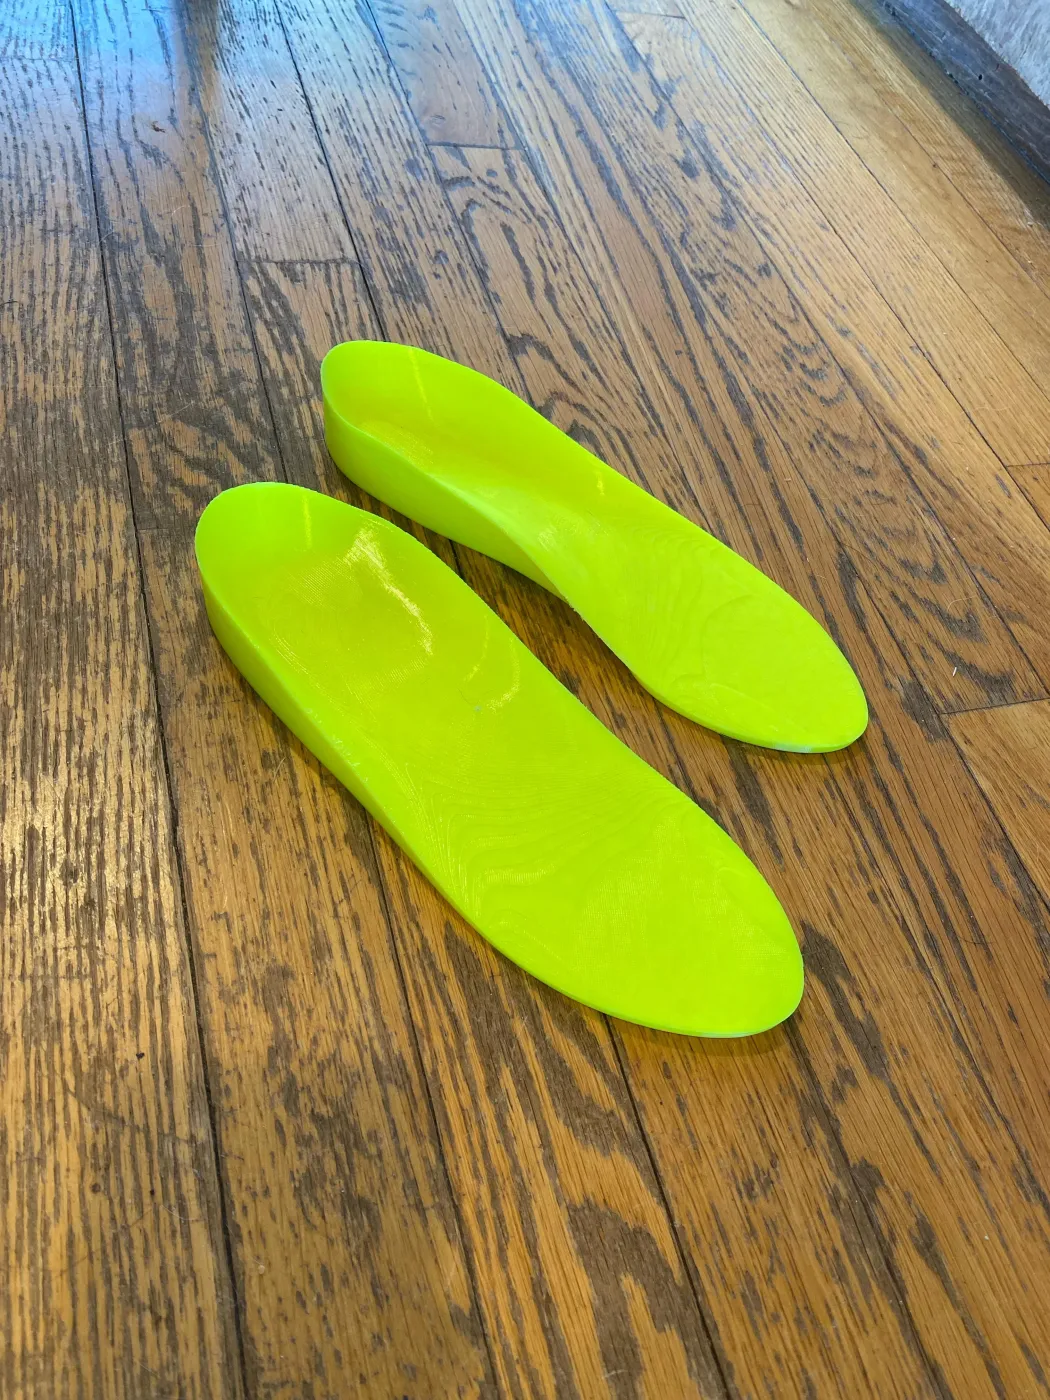
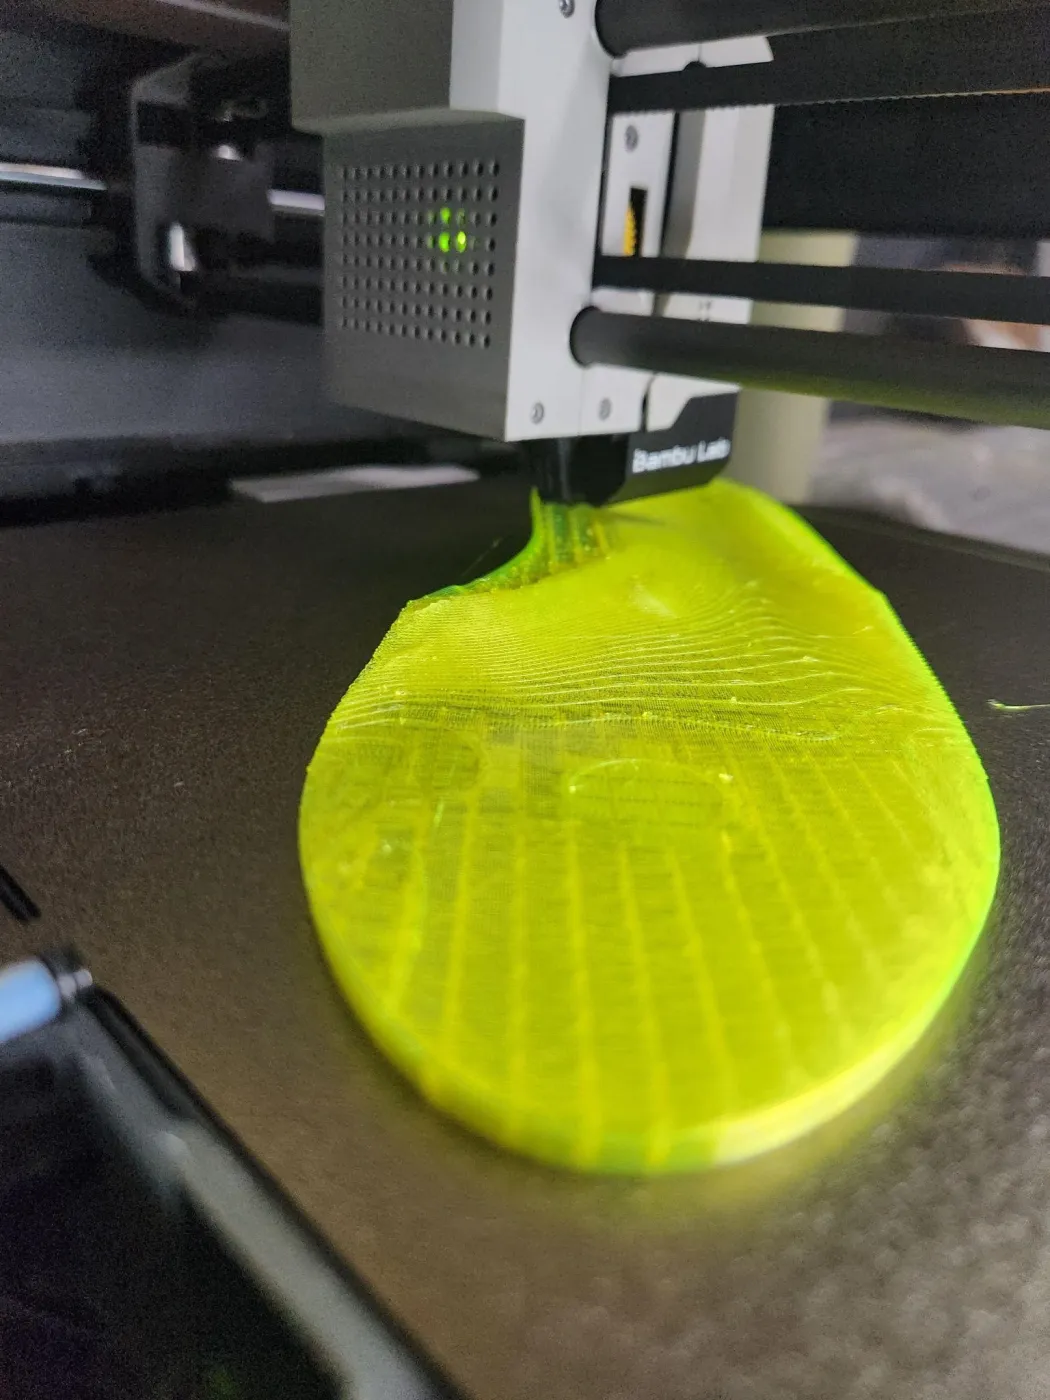
Run a custom insole against the checklist of what makes a functional print worth printing. Daily use? You wear it more hours than almost anything else you own. Solves a real problem? Foot fatigue, arch support, pressure relief — concrete, felt-every-day problems. Right material for the job? TPU is purpose-built for it: it flexes, cushions, and rebounds through millions of footstrike cycles where any rigid plastic would crack. Hard to buy off the shelf? A truly fitted insole is — retail inserts are templates, and traditional clinical custom orthotics involve a clinic visit and lab fabrication with a 1–2 week clinic-and-lab turnaround. A printed TPU pair is a design you pay for with credits plus your own filament and print time — and you can iterate it.
So why doesn't every maker print insoles? Because the part is geometrically hard. An insole is a complex, foot-fitted freeform surface — exactly the kind of model you can't just grab from a model site, because it has to match a specific foot. Designing it traditionally means CAD skills you may not have, or a 3D scan of the foot you don't have equipment for. That design blocker, not the printing, is what stops people.
That's the gap Ergono3D closes. It's a browser-based parametric insole tool: you answer a guided survey about your feet, footwear, activities, and comfort goals — no CAD, no scanner — and it generates a parametric model you can preview and adjust (arch height and length, heel cup depth, posting, flanges, met pad, TPU hardness, thickness), then export as a print-ready TPU STL. Five free preview credits let you design and inspect before paying; an export is A$9.90 as a one-time download. From there it's the same FDM workflow you already know. Our full walkthrough lives in DIY 3D printed insoles: how to print your own.
And because the model is parametric, the insole behaves like every other good functional print: it's iterable. Wear it, note where it rubs or where support is missing, tweak the parameters, re-export, and reprint. A revision is a re-export and a reprint, not another clinic visit. For the parameter-level detail, see understanding insole design parameters, and for how a printed insole compares to the foam inserts it replaces, beyond the foam insert.
Printing the insole: a reliable TPU profile.
Once you've exported the STL, the print is straightforward. Here's a baseline that works on most consumer FDM machines that handle flexible filament.
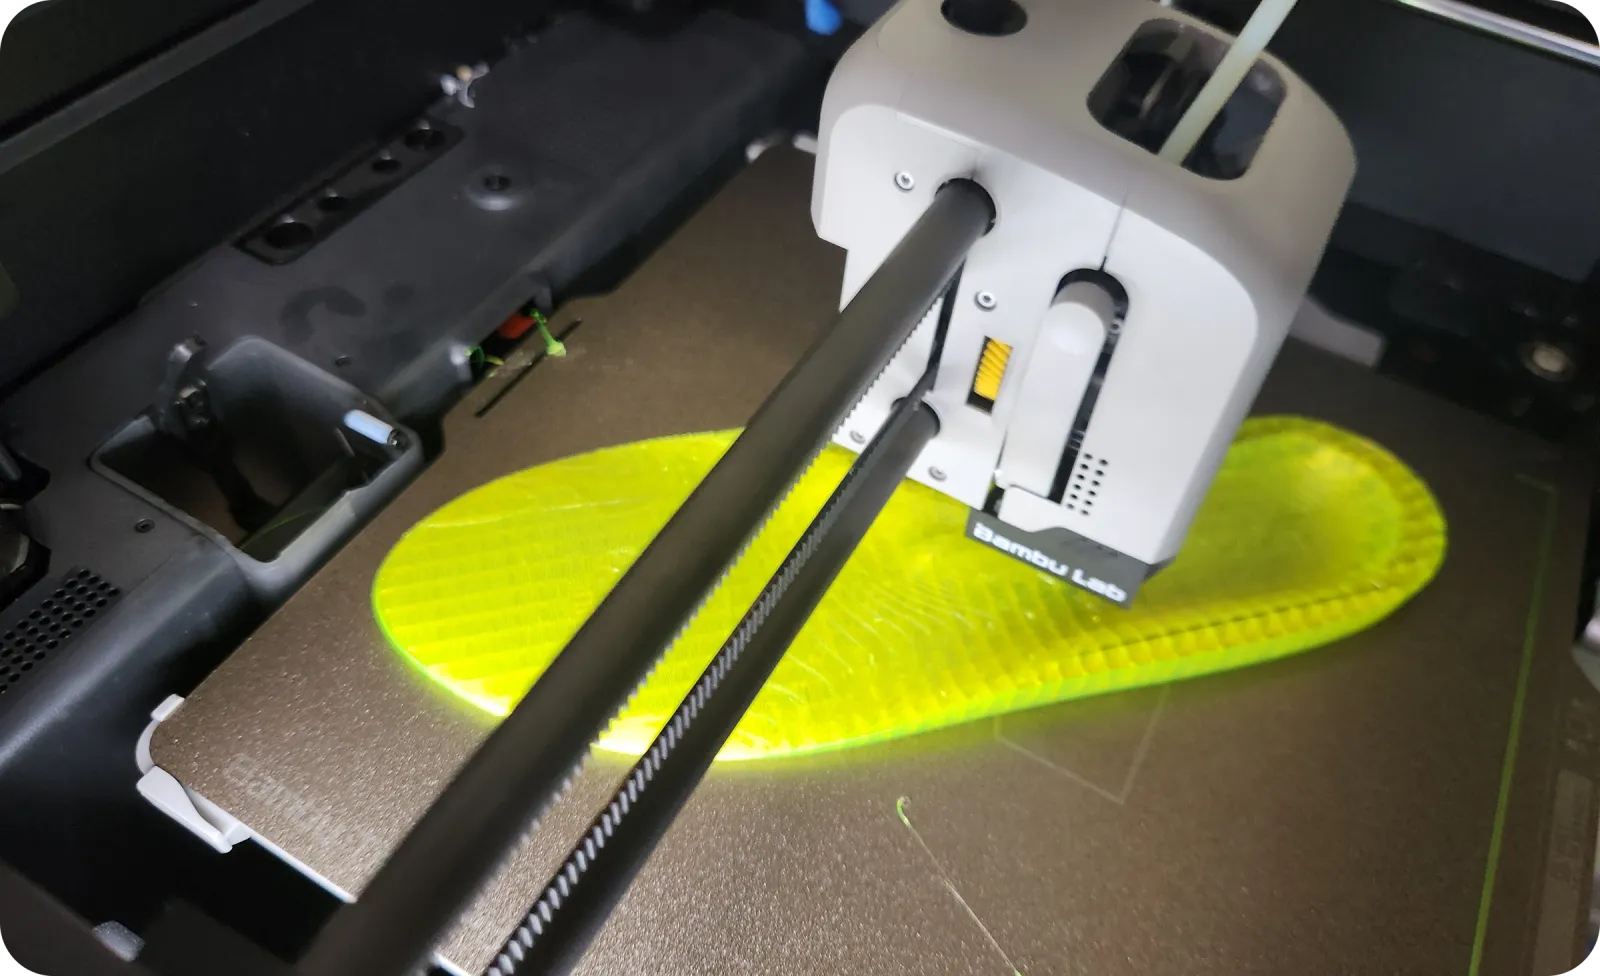
| Setting | Recommended value |
|---|---|
| Material | TPU 95A (step down to 90A / 85A for more cushioning) |
| Nozzle temp | ~235 °C (range 220–250 °C) |
| Bed temp | ~55 °C (range 45–60 °C) |
| Infill pattern | Gyroid |
| Infill density | 20% |
| Retraction | Off (0 mm) |
| Print speed | 25–50 mm/s |
| Finishing | Trim brim, round edges, add a top cover (EVA, Poron, or fabric) |
The printed TPU is the structural shell; the top cover is what your foot contacts, so don't skip it — it handles comfort, sweat, and friction. Soft TPU (85A) leans toward cushioning for long standing and sensitive feet; firmer TPU (95A) holds its shape under load for running and stability. The full material breakdown is in our TPU hardness and top cover guide, and the end-to-end print walkthrough is in DIY 3D printed insoles.
Answer a guided foot survey, adjust the design parameters, and preview your custom insole right in the browser — no CAD, no scanner. Free preview with 5 credits, no card required. Export the print-ready TPU STL when the design feels right, then print, wear, and iterate.
FAQs about functional 3D prints.
What makes a 3D print functional?
A functional 3D print is an end-use part you actually rely on — it has to hold load, fit something, flex, or survive repeated use, rather than just look good on a shelf. In practice that means three things are chosen deliberately: the material (rigid PLA+/PETG, flexible TPU, or tough Nylon/PA-CF), the internal structure (infill percentage and wall/perimeter count sized to the load), and the print orientation (so the layer lines are not the failure plane). Decorative prints can ignore all three; functional prints cannot.
What's the best material for functional / end-use 3D prints?
There is no single best material — it depends on the load. For rigid everyday parts (brackets, knobs, organizers) PLA+ or PETG is the practical default, with PETG preferred where moisture, mild heat, or impact matter. For anything that needs to flex or cushion — gaskets, bumpers, grips, insoles — use TPU. For tough, heat-resistant, or high-fatigue parts (gears, functional hooks, under-hood clips) reach for Nylon or PA-CF (carbon-fiber-filled nylon). Match the material to how the part fails, not to what's on the shelf.
What are the most useful things to 3D print?
Parts you use every day: cable clips, tool and bit holders, replacement knobs and brackets, jigs, cabinet hardware, organizers, flexible TPU parts, wall hooks, device stands, printer upgrades and repair parts. For many makers the most useful single print is a custom TPU insole, because it gets worn every day.
Are 3D-printed functional parts durable enough for daily use?
Yes, when designed for the load. Daily-use durability comes from material choice, 3–4 perimeters (walls) carrying most of the strength, 20–50% infill for load-bearing parts, and orienting the part so stress runs along layers rather than pulling them apart — layer adhesion is the weakest axis on an FDM print. PETG and Nylon parts built this way hold up to daily handling for years; a well-printed TPU part like an insole flexes through millions of cycles. A part that fails early is almost always under-walled, wrongly oriented, or made of the wrong material for the job.
Can I 3D print a custom insole at home?
Yes. Any FDM printer that handles flexible filament can print a TPU insole, and the design step no longer requires CAD or a 3D scanner. With Ergono3D you answer a guided survey about your feet, footwear, and goals, the tool generates a parametric model, and you export a print-ready TPU STL. A reliable starting profile is TPU 95A, ~235 °C nozzle, ~55 °C bed, 20% gyroid infill, retraction off, then add a top cover. It's a design tool, not medical treatment — see a clinician first for a diagnosed condition.
More: DIY 3D printed insoles · Insole design parameters · TPU hardness & top cover guide · Beyond the foam insert