MODEL A
Part A
—

Free browser tool for insole makers · no sign-up required
Open a printable STL or mesh OBJ, split paired insoles, correct inch or centimetre units, set exact dimensions, add controlled width, or trim a full-length insole to 3/4 length. Your model stays in your browser.
This page is available in your language. Workbench controls remain in English.
Step 1 Ergono3D pair splitter
Upload one STL or OBJ containing two disconnected insoles. Each model stays unchanged—no cutting plane and no new cap.
Best for two similar separate models · stays on this device
Disconnected bodies are separated directly, so the original surfaces and details stay intact.
—
—
A / B describe file position, not anatomical left / right.
Step 2 Scale / Wide / Cut
Choose either separated model above, or open any single STL or OBJ here. Wide and 3/4 remain tuned for insoles.
From downloaded model to slicer
Use only the operations your model needs. The free workbench keeps the original available to reset, then exports a fresh binary STL in millimetres.
Use the pair splitter when one file contains two disconnected insoles. Otherwise, open a single STL or OBJ directly in the workbench.
STL files do not store units. Convert inches or centimetres to millimetres, then enter a target length, width or height. Keep the ratio locked for proportional resizing.
Use Wide for a progressive forefoot-focused change, the 3/4 preset for a quick heel-side trim, or position a custom cut plane for another result.
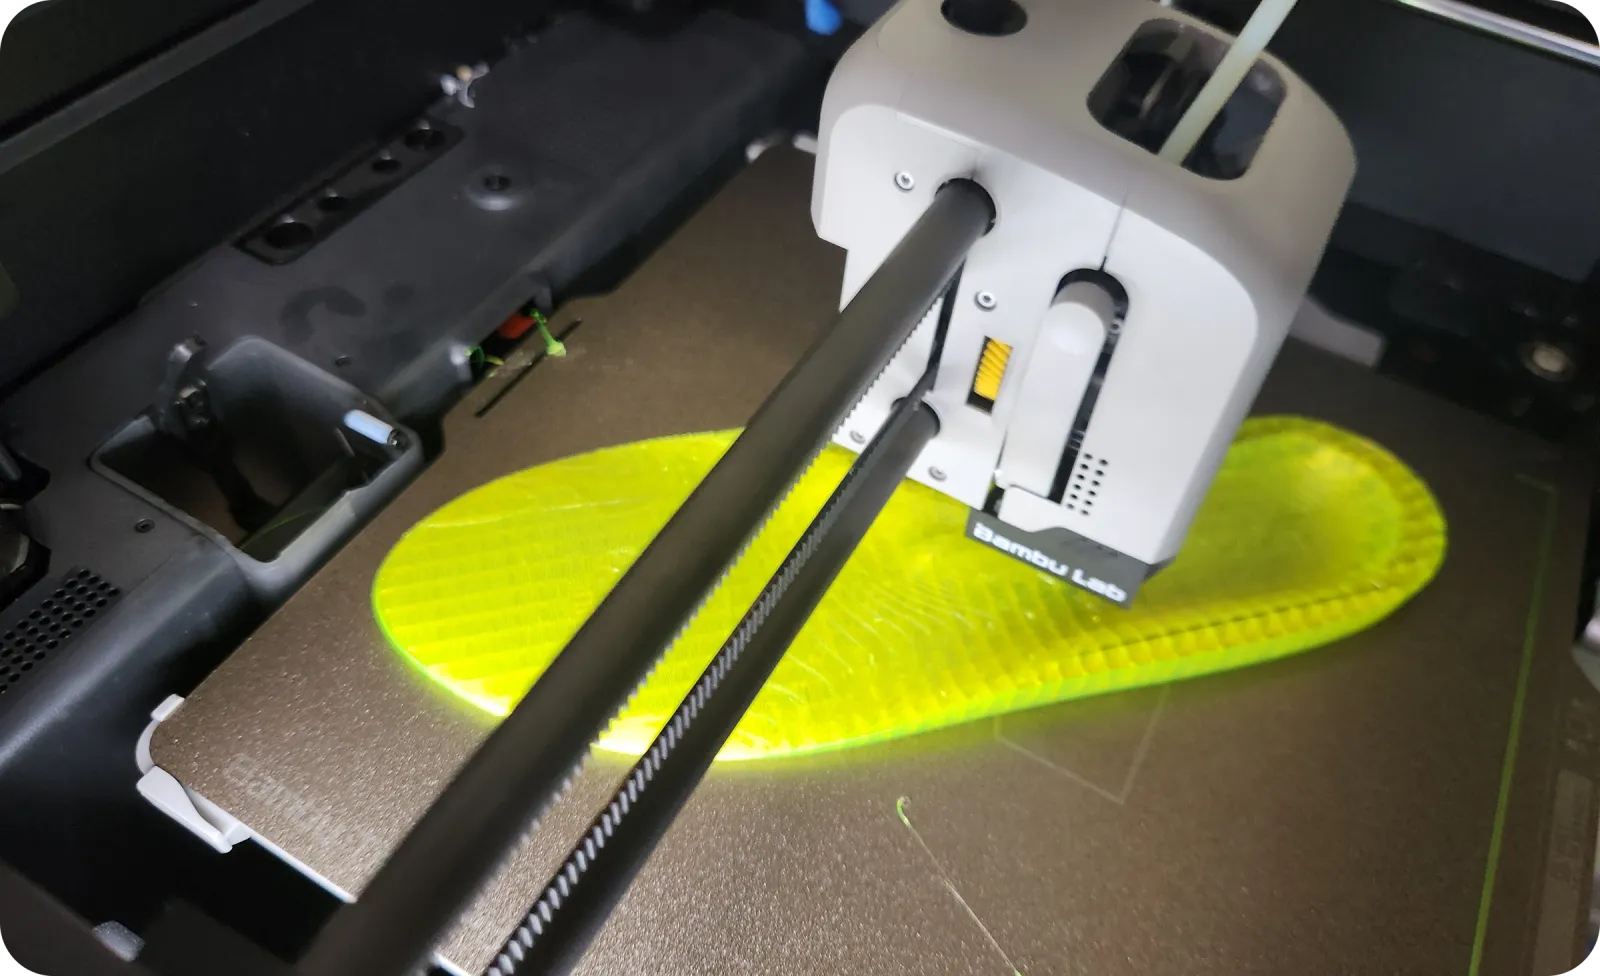
Download the edited STL, open it in your slicer and check orientation, scale and mesh integrity. Then use the TPU insole printing guide for print setup.
Ergono3D Wide
Uniform width scaling expands the heel, arch, forefoot and toe by the same ratio. Wide applies a progressive change while preserving the model's length and height.
/ 01Read
The tool finds the insole's long axis, narrower heel and local centreline from the mesh geometry.
/ 02Expand
The heel changes least. Added width grows through the arch, reaches its maximum at the forefoot and eases toward the toe.
/ 03Preserve
The centreline, overall length and vertical profile stay unchanged while the printable mesh remains connected.
Six common model fixes
Each operation is optional. Start with your own model, make the smallest useful change and export without an account or watermark.
Separate two disconnected insole bodies and download each original mesh as its own STL.
Enter the finished length, width or height, with proportional scaling on or off.
Convert models made in inches, centimetres or metres to the millimetres most slicers expect.
Add the most width around the forefoot, with a smaller blended change toward the heel and toe.
Keep the heel-side 75%, remove the toe-side 25% and cap the new edge for export.
Move, rotate and tilt the cut plane, then keep one closed piece or download both STL parts.
Keep making
The workbench edits an existing mesh. These focused Ergono3D resources cover the steps before and after the STL.
Build configurable insole geometry in Ergono3D, then use this free workbench whenever you need a quick resize, Wide version or trim.
Explore the insole STL generatorReview orientation, supports, walls, infill and practical TPU settings before sending the edited model to your printer.
Read the TPU printing guideMove from measuring and choosing a model through slicing, printing and checking the result in footwear.
Read the DIY insole guideNew to the whole process? See the Ergono3D workflow for makers for a broader overview.
Private by design
Files are read into browser memory and processed with WebGL on your device. There is no model upload, account, watermark or server-side copy.
Before you export
Ready to design, not just edit?
Start with a configurable, print-ready insole and control its dimensions, arch, heel cup, posting, flanges and lattice. This Scale & Cut workbench stays free for your Ergono3D exports—and other compatible STL or OBJ files.