Functional 3D printed custom insoles.
STL files. No CAD.
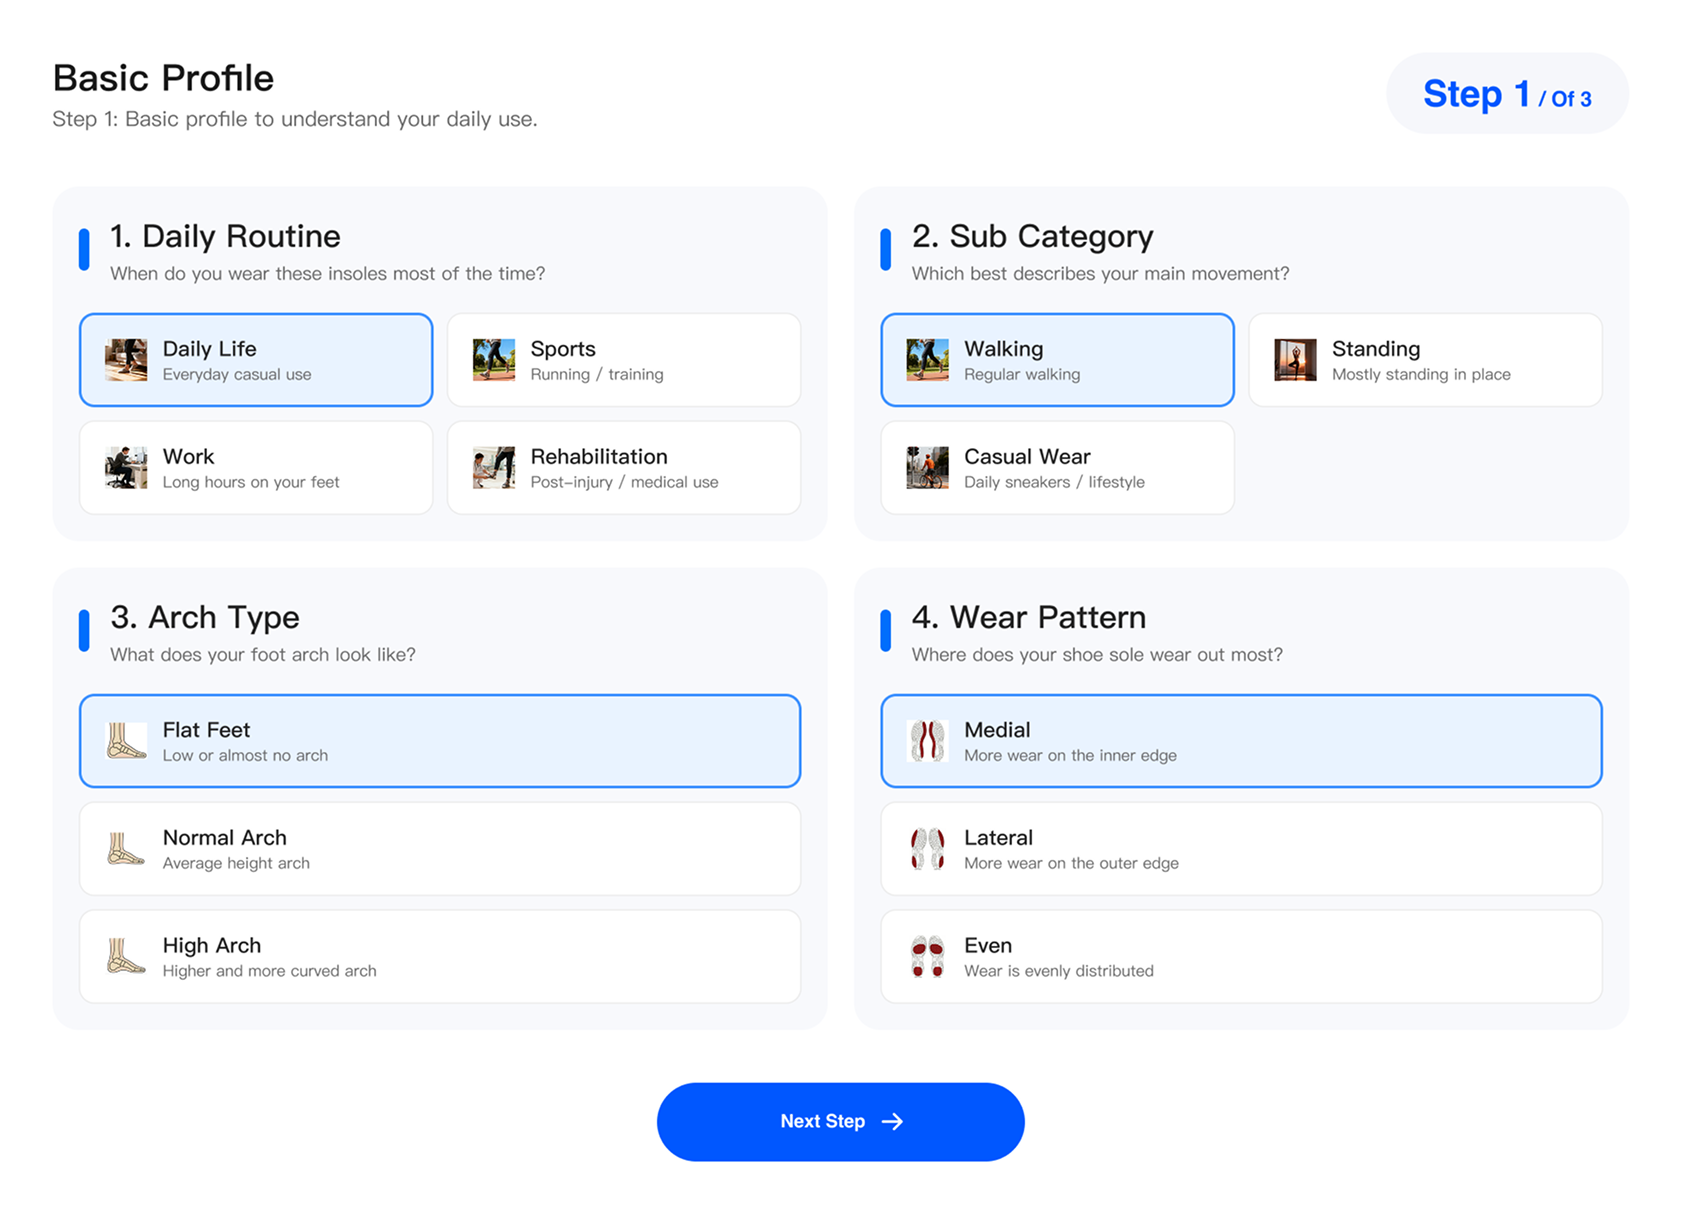
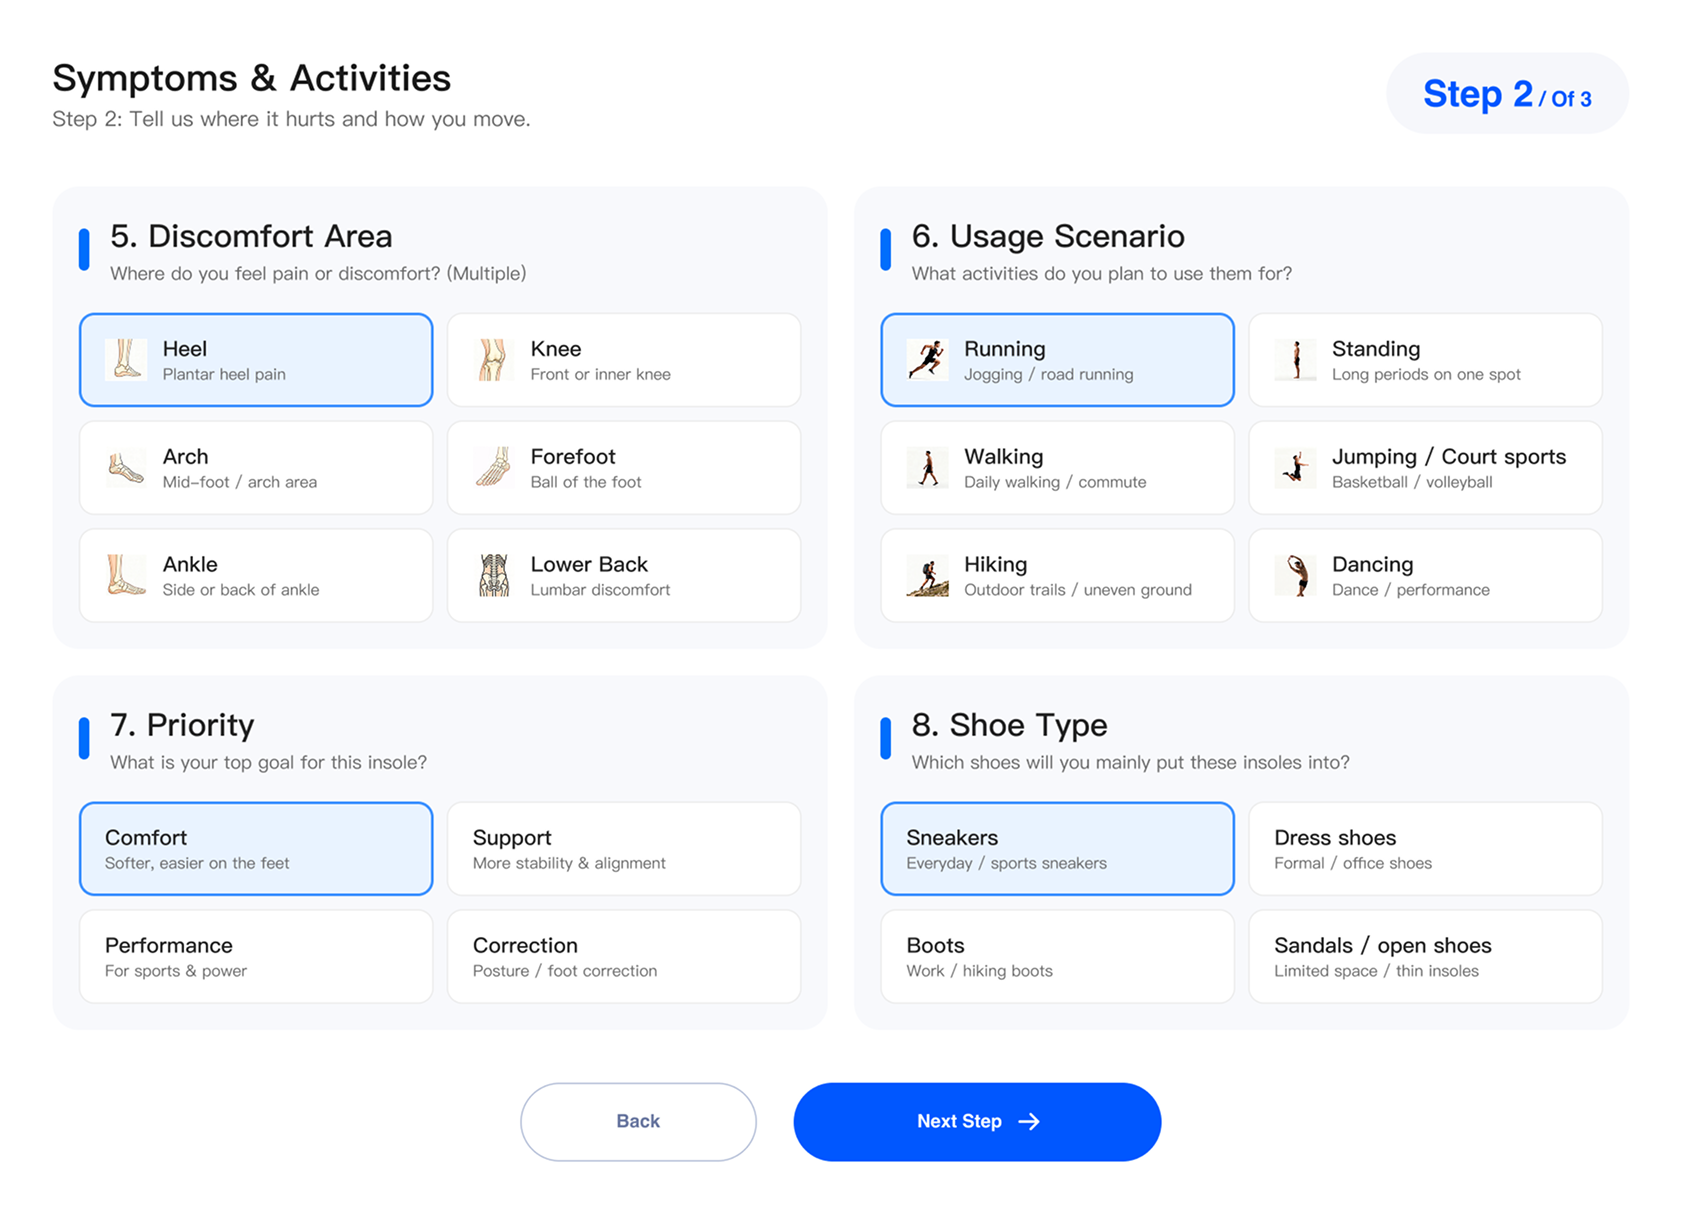
Ergono3D helps makers design 3D printed custom insoles and 3D printed shoe inserts from guided inputs. Set the fit, tune support zones, export an STL, print it in TPU, then refine the next version from real wear feedback.
Turn fit and support settings into a printable insole.
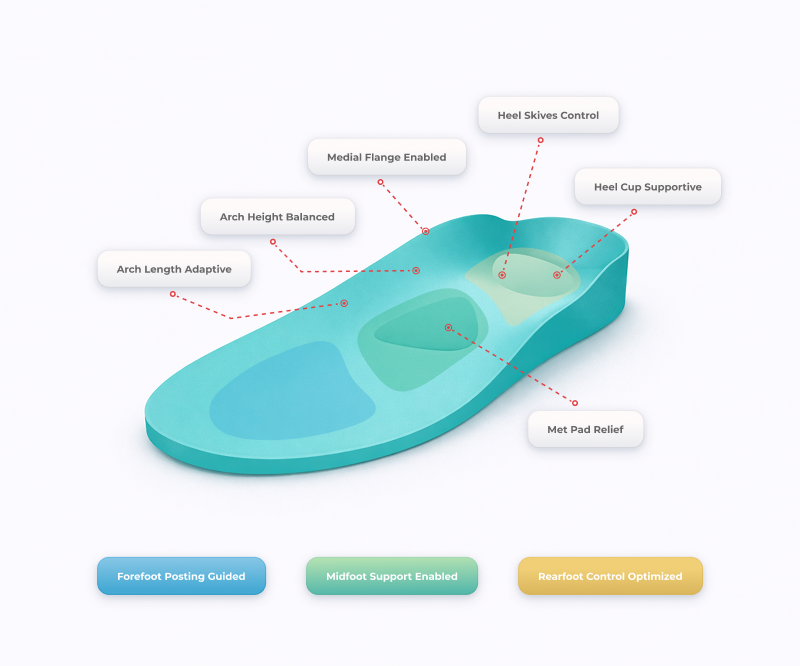
Instead of pushing vertices around in CAD, makers adjust the support behavior that changes the final print. That keeps refinement fast enough to use after every real-world fit check.
Designed to be optimized, not just downloaded.
Most STL files are frozen the moment you download them. Ergono3D generates adjustable insole designs so makers can tune geometry, print in TPU, validate real use, and refine the next version.
A fixed model may print, but it does not respond to your shoe, activity, foot shape, or real-use feedback.
Generate a file from support controls, then change the design after your first print tells you something useful.
Visual polish alone is not enough when the part has to flex, support, and survive real use.
Print a version, validate pressure and comfort, refine parameters, then export the next STL.
For makers, functional means feedback.
A functional insole print is not done when the slicer finishes. It is ready when a walk, a run, a standing session, or a fit check gives you feedback you can turn into the next file.
From maker bench to wearable print.
Ergono3D keeps the maker workflow practical: make the file, slice in TPU, validate the fit, and tune the next version without rebuilding the model by hand.
TPU-ready geometry
Designed around flexible filament workflows where support, wall behavior, and print orientation matter.
Adjustable support parameters
Tune arch height, heel cup, thickness, posting, and stiffness zones through clear controls.
Print-validate-refine loop
Use real wearing feedback to produce the next STL instead of hunting for another static file.
Sport-specific designs
Create designs for running, gym training, court sports, long standing, or daily wear.
Common FDM printer path
Works with maker setups that can print TPU, with validation handled through your material and slicer profile.
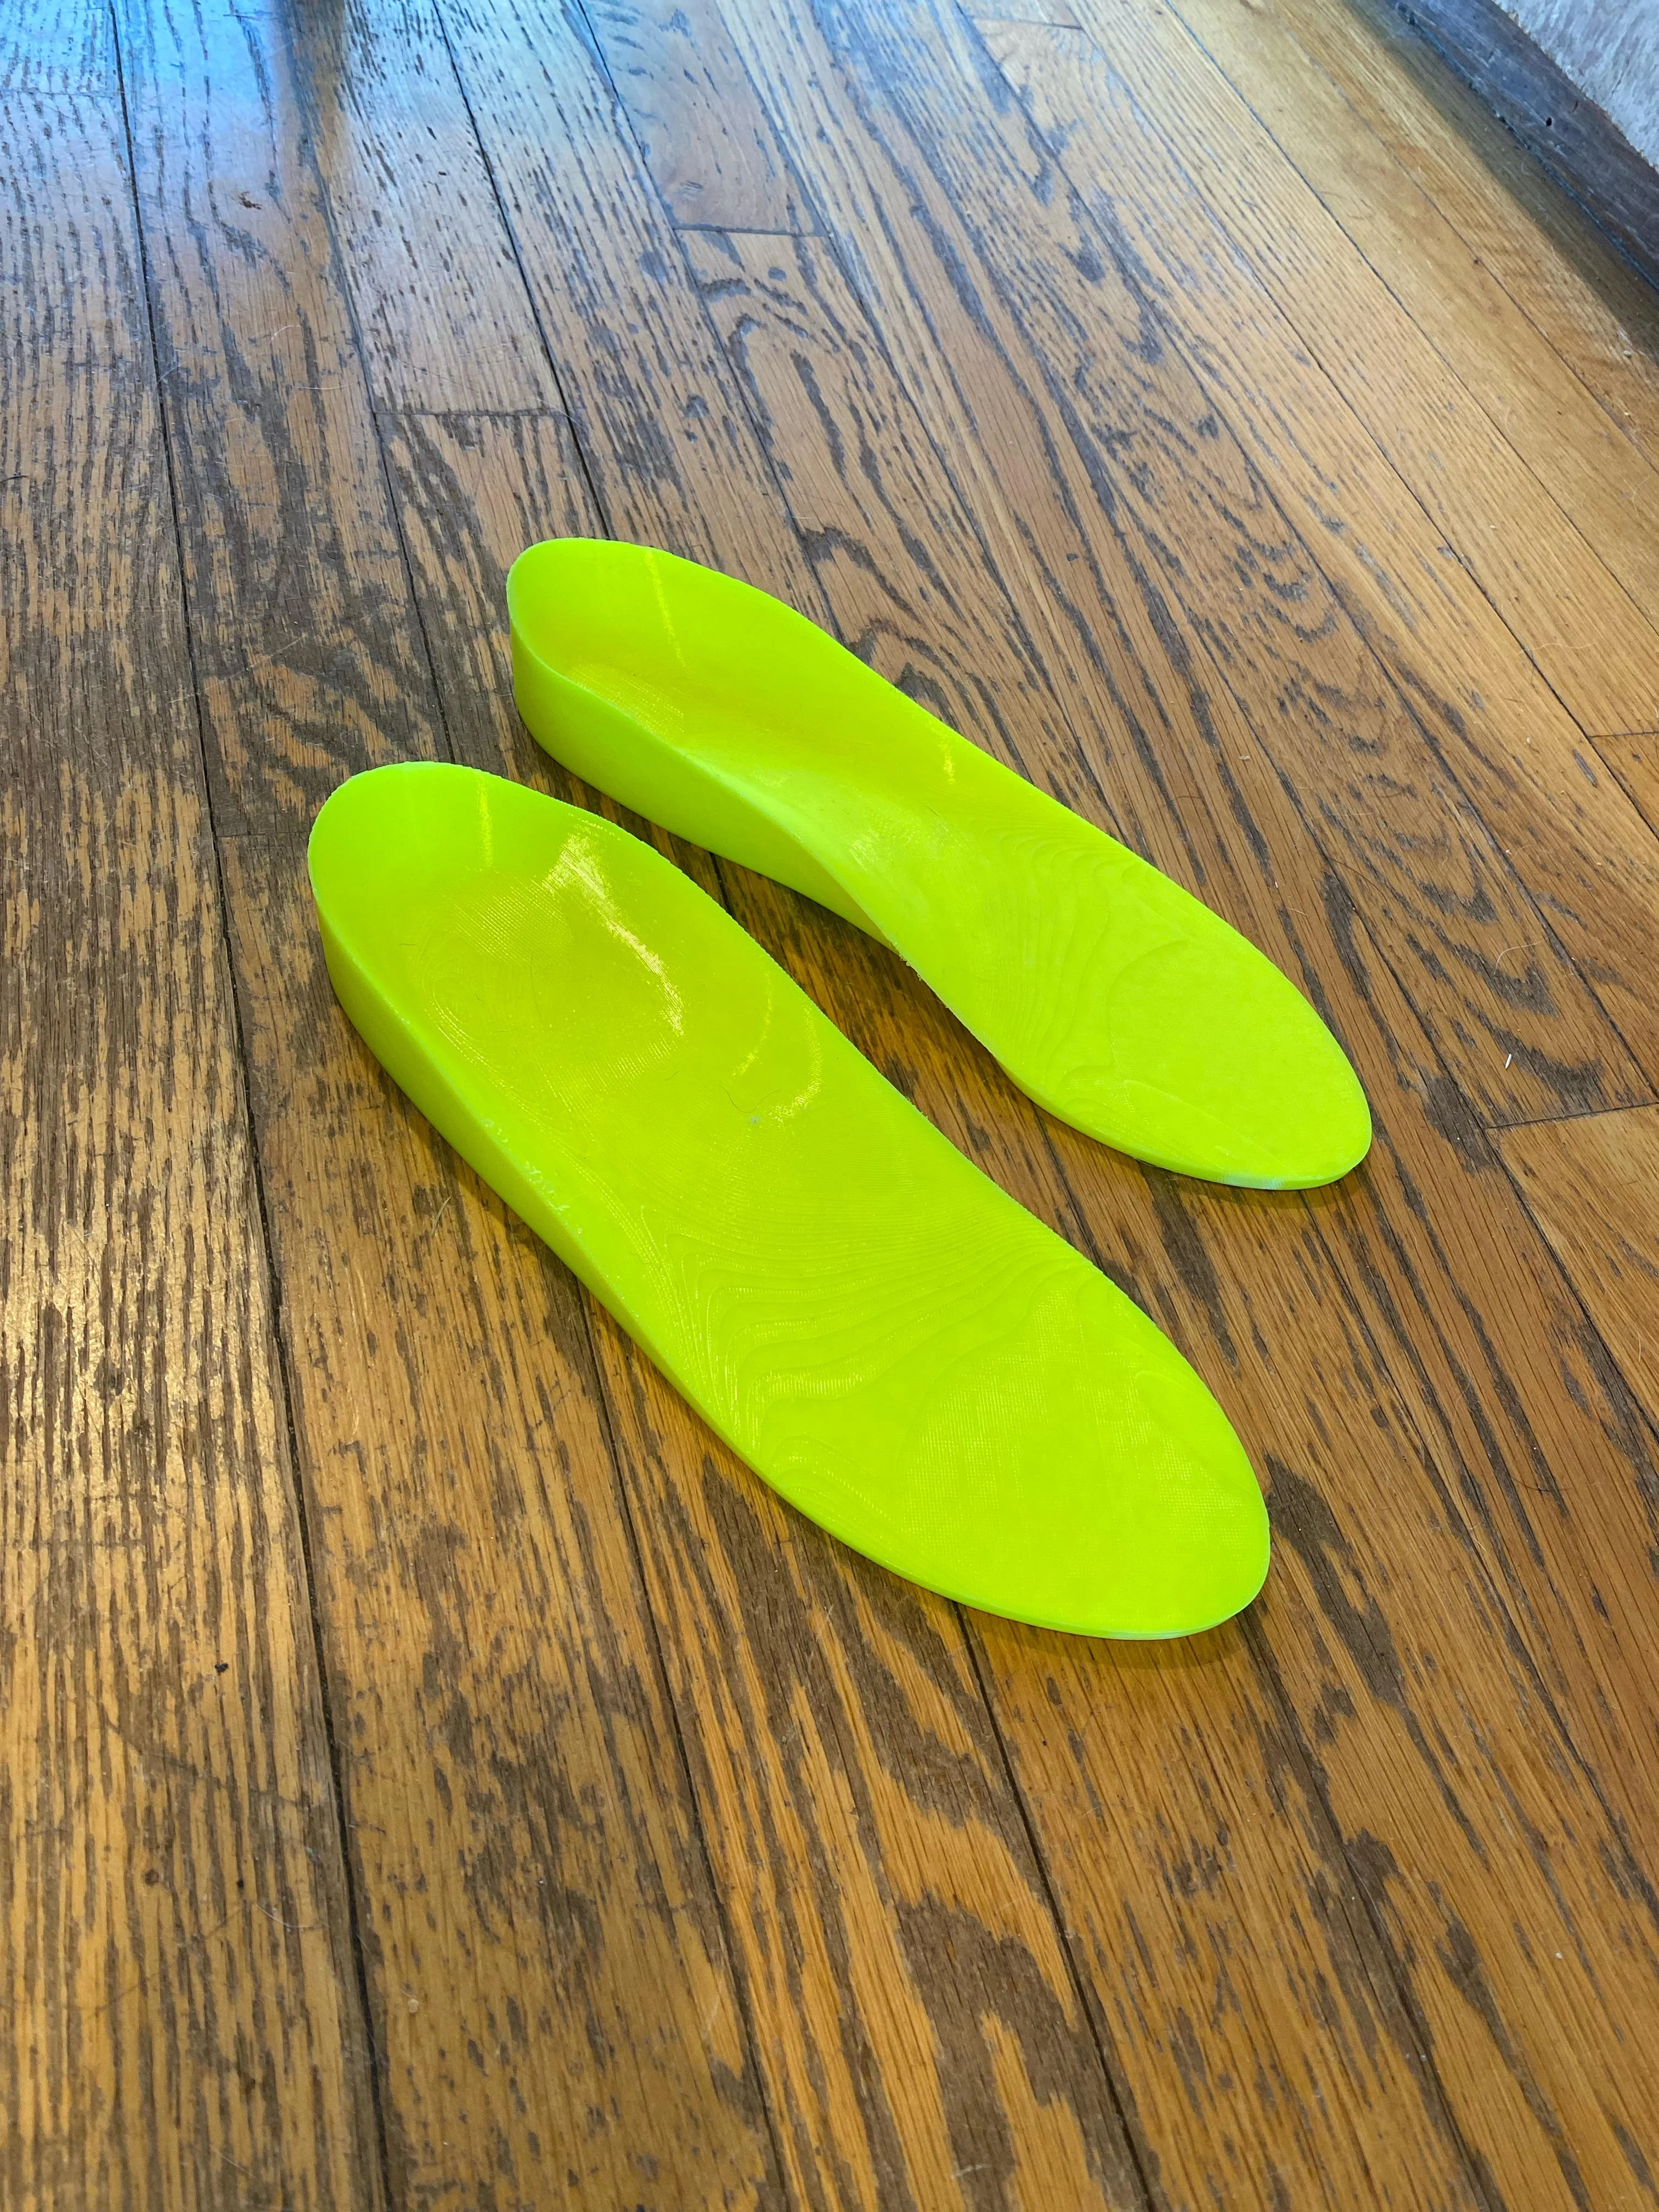
Bring the STL into a wearable TPU insole.
Print the generated file, wear it in the target shoe, then refine the fit and support from real-world feedback.
Which TPU hardness for your insole.
Every design exports as TPU-ready geometry, but the durometer you print in changes how it feels underfoot. A softer 85A tends to feel more cushioned for long standing; a firmer 95A holds its shape under load and for running; 90A is a balanced default. Many makers start near 95A and step down if the first print feels too rigid.
A nozzle made for flexible filament prints TPU more reliably, and a thin top cover can soften the contact surface. For print temperatures, infill, and durometer trade-offs in depth, see the TPU hardness & top cover guide.
Common questions from makers.
/ 01Are the STL files adjustable?
Yes. Ergono3D creates custom insole STL files from guided inputs, then lets you change support parameters when the fit or feel needs refinement.
/ 02Do I need CAD experience?
No. You work with guided inputs and familiar support controls. Ergono3D generates the STL, so you can focus on fit, material behavior, and real-world validation.
/ 03Can I use TPU or flexible filament?
Yes. The workflow is designed for flexible-filament insole prints, including TPU. Final quality still depends on your filament, slicer setup, printer tuning, and validation.
/ 04What printer setup do I need?
Use an FDM printer setup that can handle flexible filament reliably. You will still need to validate orientation, extrusion, adhesion, and comfort with your own material and slicer profile.
/ 05Is this medical advice?
No. Ergono3D helps generate design files. It does not replace medical assessment, clinical judgment, or professional orthotic care.
/ 06What is a 3D-printed insole?
A 3D-printed insole is a shoe insert whose shape is generated digitally (to a specific foot's arch height, heel-cup depth, and support zones) and then printed layer by layer, usually in flexible TPU on a standard FDM printer. Unlike a molded or off-the-shelf insole, the design stays editable: you adjust a parameter, regenerate, and reprint. With Ergono3D the geometry comes from a guided survey rather than CAD or a 3D scanner, and exports as a print-ready STL. It is a design-and-manufacturing approach, not a medical treatment; see a clinician for persistent foot pain.
Make an insole you can actually use.
Generate a custom STL, print it in TPU, wear it, learn from it, and improve the next version.
Running a clinic instead? See insole design software for clinics.