Ergono3D
Features Pricing FAQ Blog
English 日本語 Español Français Deutsch Português 한국어 العربية Türkçe Русский Italiano Polski Tiếng Việt Bahasa Indonesia ไทย Nederlands Română Ελληνικά
English ▾
English 日本語 Español Français Deutsch Português 한국어 العربية Türkçe Русский Italiano Polski Tiếng Việt Bahasa Indonesia ไทย Nederlands Română Ελληνικά
Sign in Start free → Dashboard
Your STL is ready

Your first insole print, step by step.

No 3D-printing experience needed. Follow these four steps from the downloaded STL to your first TPU wear test.

4 beginner steps TPU 95A Direct-drive FDM About 5–7 hours
01Get the file

Download your STL.

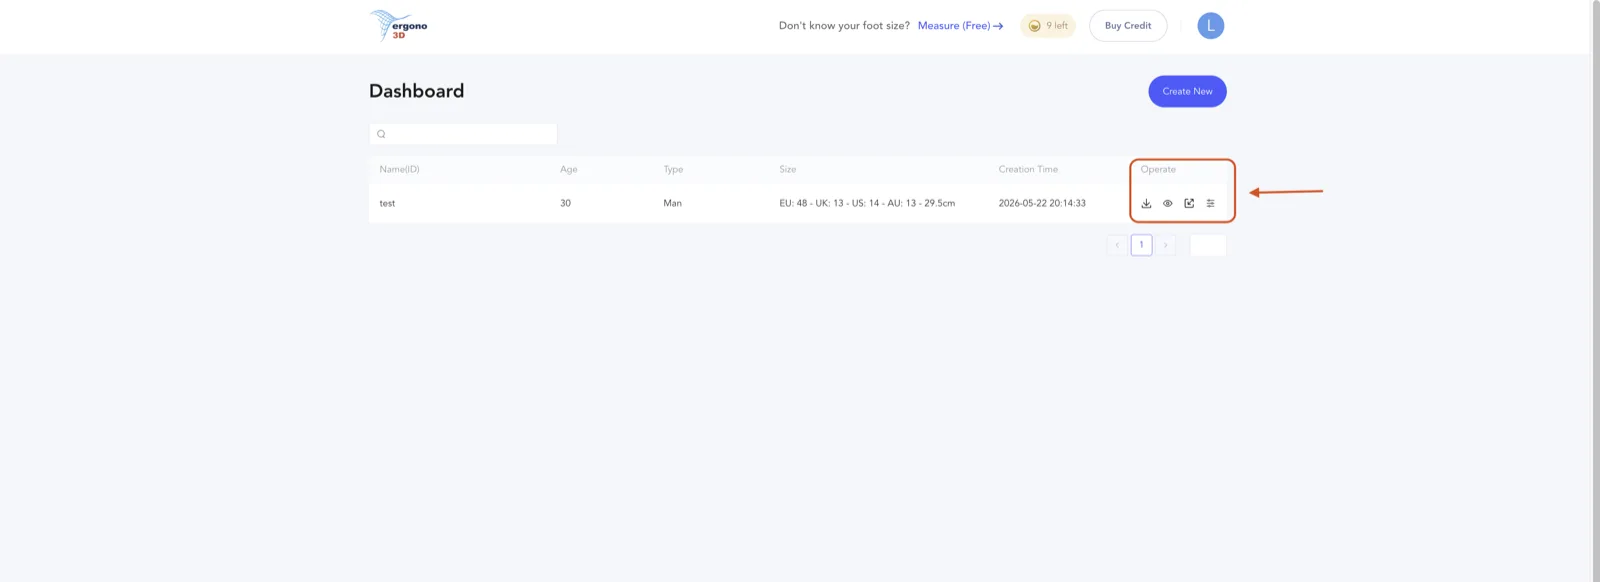
The STL is the printable 3D file. Download it from your Ergono3D dashboard and keep it somewhere easy to find.

  1. 1
    Open DashboardFind the insole you just generated.
  2. 2
    Click the download iconIt is the first icon in the Operate column.
  3. 3
    Find the .stl fileCheck your Downloads folder. If it arrives as a ZIP, extract it first.
Open Dashboard →
Ergono3D dashboard with the STL download icon highlighted in the Operate column
Dashboard · Operate column · first icon downloads the STL
02Prepare the print

Import it and enter these settings.

Open Bambu Studio, PrusaSlicer, Cura, or your printer's slicer. Drag in the STL, keep the smooth underside flat on the build plate, then use this starting profile.

Material
TPU 95A
Nozzle
220–235 °C
Bed
30–45 °C
Layer height
0.20 mm
Speed
≈ 30 mm/s
Infill
20% gyroid
Walls
3 perimeters
Supports
Off
Bed adhesion
Brim on
Retraction
Low / minimal
Before slicing: the wide, smooth underside must touch the virtual build plate. Do not stand the insole on its edge.
See full TPU settings →
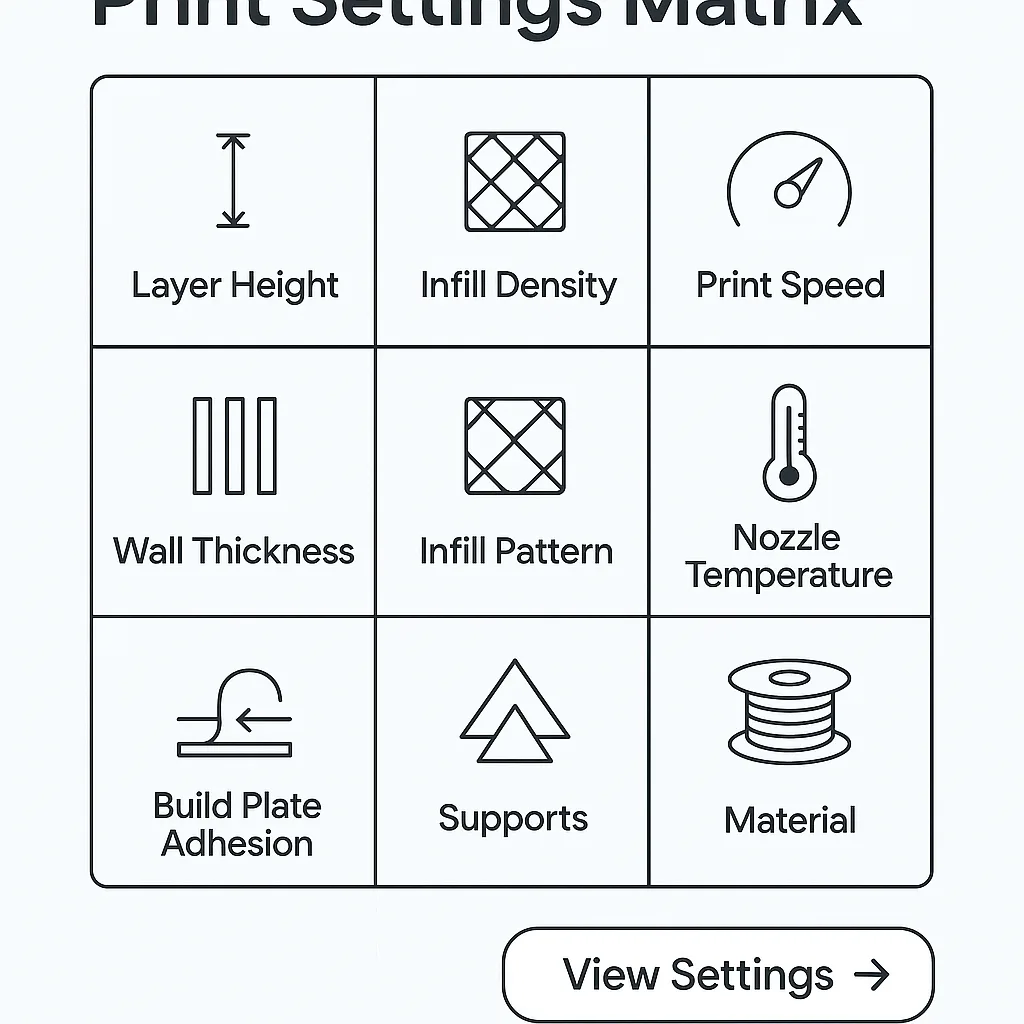
Print settings matrix covering layer height, infill, speed, walls, temperature, adhesion, supports, and material
Slicer checklist · use the values shown on the left as your starting profile
03Start printing

Watch the first layer.

Slice the model, send it to the printer, and stay nearby for the first few minutes. A good first layer prevents most failed prints.

  1. 1
    Load TPU and clean the plateUse clean, dry TPU. Wipe the build surface before starting.
  2. 2
    Press PrintOne pair usually takes about 5–7 hours, depending on your machine.
  3. 3
    Check the first 3–5 minutesLines should be even and firmly attached, with no lifted corners or loose loops.
If the first layer lifts: stop the print, clean the plate, check the brim, then restart. Do not let a loose print continue.
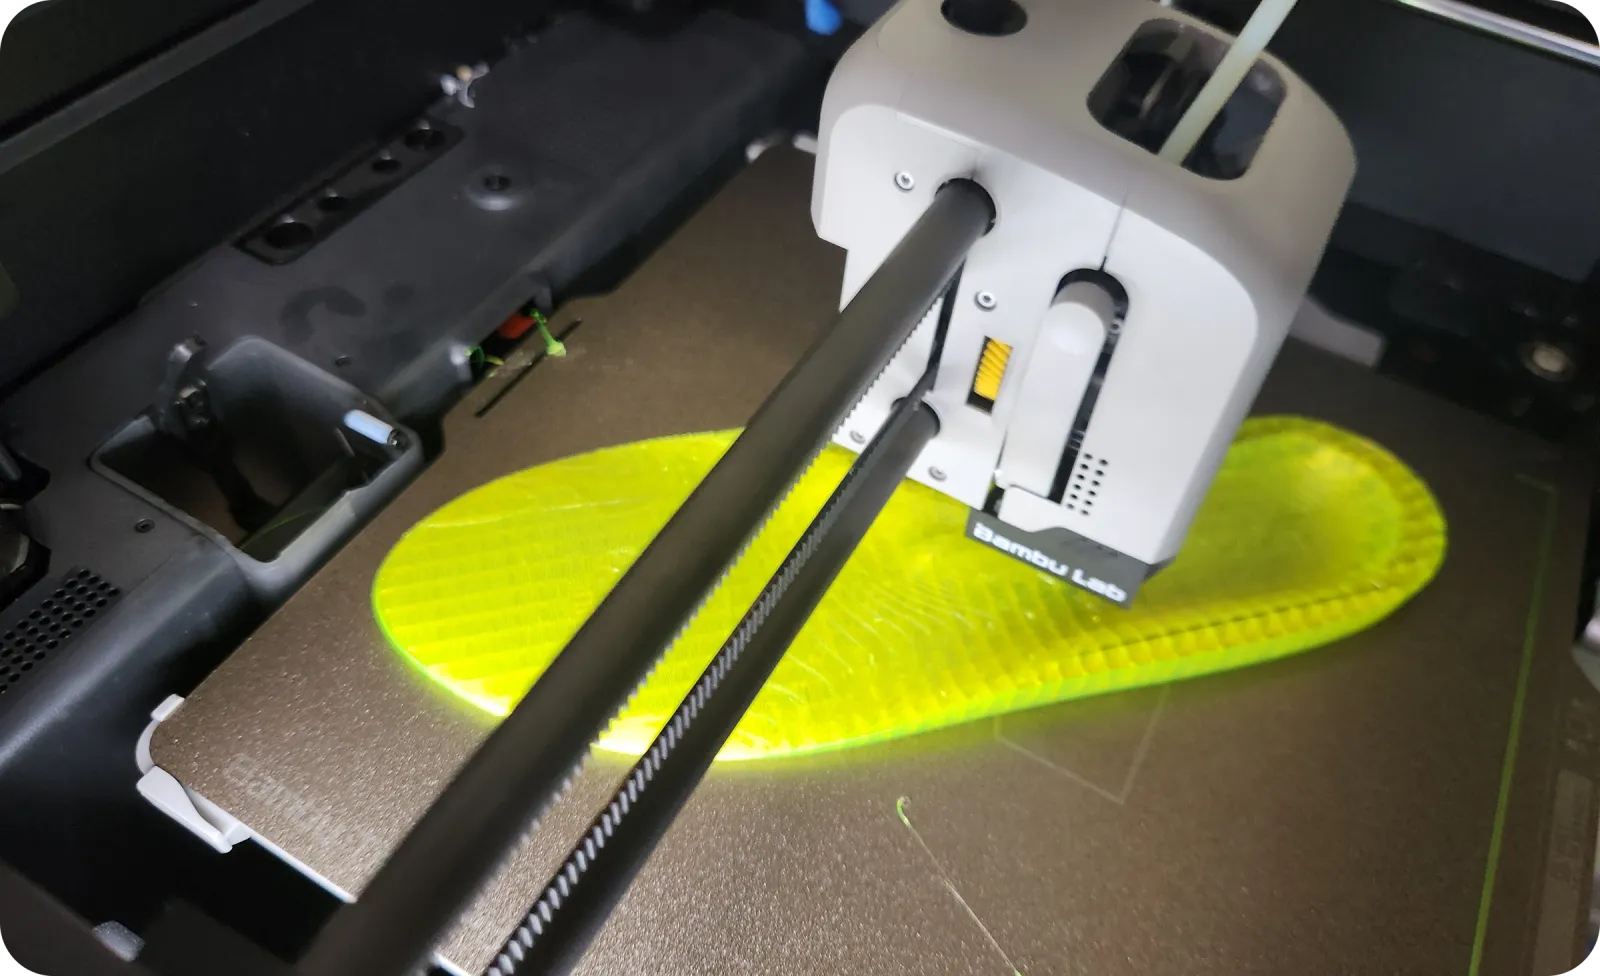
Flexible lime-green TPU insole printing flat on a 3D printer bed
Good sign · the insole stays flat and each new line bonds to the last
04Finish and test

Cool, trim, then try them on.

Do not pull a hot TPU print from the plate. Let it cool first, then clean the edges and test the fit for a short period.

  1. 1
    Let the plate coolOnce cool, flex the plate gently and lift the insole away.
  2. 2
    Remove the brim and stringsTrim only loose material with small scissors. Do not cut into the insole body.
  3. 3
    Start with 20–30 minutesCheck heel position, toe room, and any pressure points before longer wear.
Optional top-cover guide →
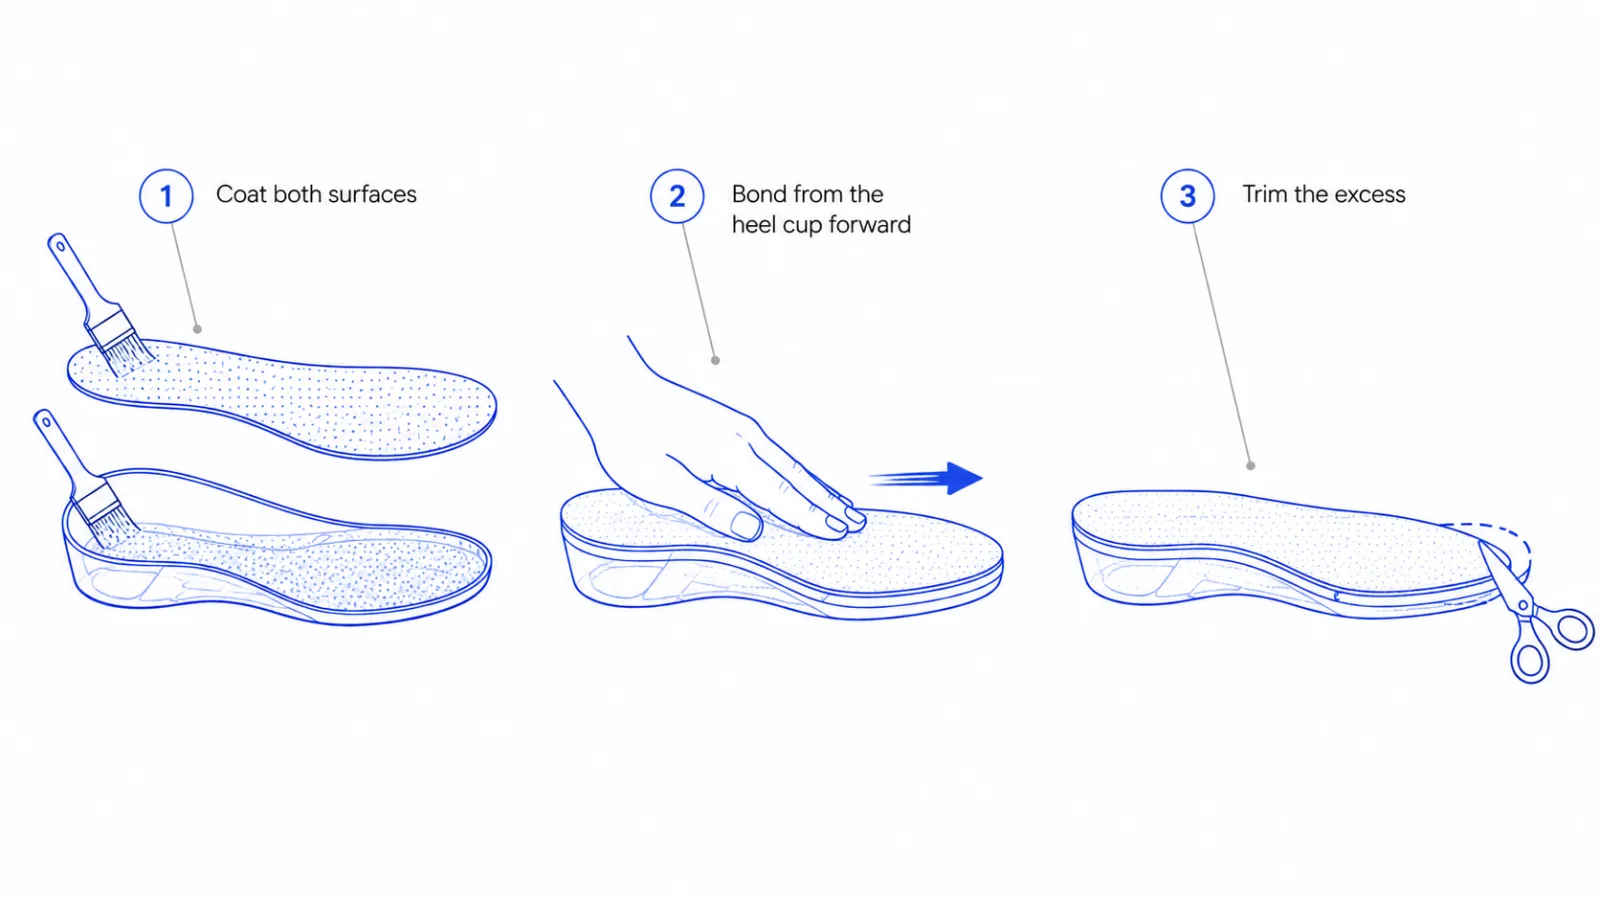
Three illustrated steps for applying and trimming an optional insole top cover
Optional finish · coat both surfaces · bond heel-to-toe · trim the excess
Optional · only if the size needs checking

Not sure about the size? Measure, then scale.

If the STL length already matches your correct insole length, skip this. Otherwise measure first, then adjust the STL once before printing again.

Open Measure
  1. 1
    Measure your footTrace it on A4 or US Letter paper, photograph it, and upload the image to Measure.
  2. 2
    Write down the length in millimetresCheck the detected points and adjust them if the outline is off.
  3. 3
    Set the length in Scale and download againChange width or height only when you deliberately need that adjustment.
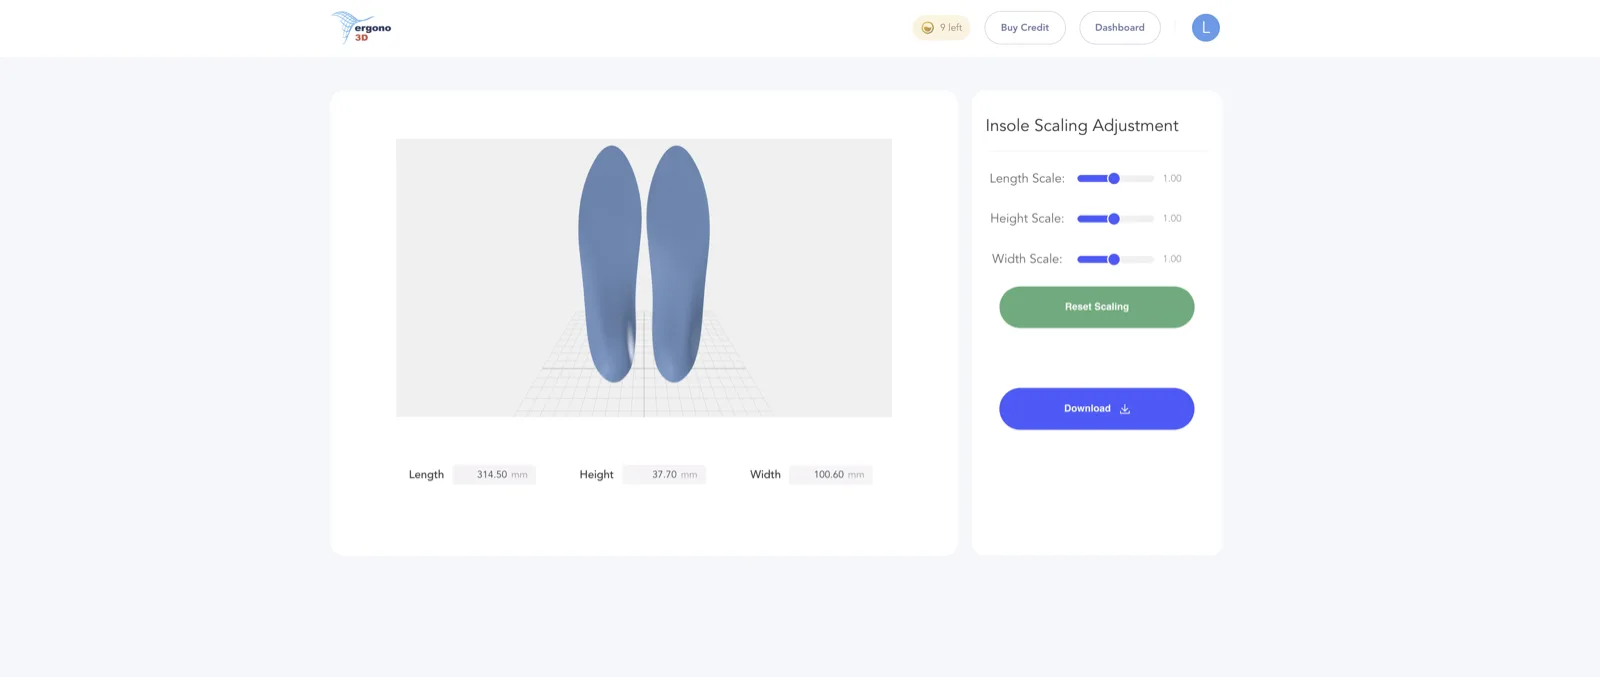
Ergono3D Scale page with length, height, and width controls beside a live 3D insole preview

Every printer and TPU brand is slightly different.

Use the Step 02 values as a safe starting point, then follow your filament maker's temperature range.

See the full TPU guide →
Ergono3D

Parametric 3D insole design. Built in Australia for clinicians, athletes and makers worldwide.

team@ergono3d.com
ABN 80 689 316 201

Product

  • Features
  • Pricing
  • FAQ

Resources

  • Blog
  • Print guides
  • 3D-printed insoles for makers
  • Custom 3D-printed insole software for clinics

Company

  • About
  • Contact
  • Privacy
  • Terms
© 2026 Ergono3D Pty Ltd Made in Australia · Printed worldwide